If you have ever worked on interactions in Maximo, you would know how easy it is to set up one and start fetching data from a webservice. It helps you avoid the hassle of writing and maintaining custom code with just a few configuration steps. Practically it does all the work for you – from creating objects and relationships to setting up the dialog box and sigoption to display the data.
But when it comes to adding a new attribute to be fetched and displayed from the webservice, it requires the entire thing to be created again. This means the interaction and all its configurations have to be scrapped and recreated with the new set of attributes. That’s a lot for just a field addition.
So I thought what if we manually add this attribute to the objects and to other configurations and see if it works out.
To explain this better, I have an interaction that fetches all the football matches that have been played in the city (which is the location record in Maximo). The data is just fetched from the webservice for display and not inserted or committed anywhere.


Now I want to show the ‘Result’ field in the dialog box from the webservice response but the problem is – this field was not initially selected while creating the interaction so it’s not present in the object that handles the webservice response. So to show this field in the dialog I did the following –
- Added the new attribute to the response object – The attribute name and the data type must be the same as that of the field in the webservice. The description of the attribute must be the path of the field in the response XML. This is what the description of my field looks like –ns0:GamesPerCityResponse/ns0:GamesPerCityResult/ns0:tGameInfo/ns0:sResult


- Included the new attribute to the response object structure


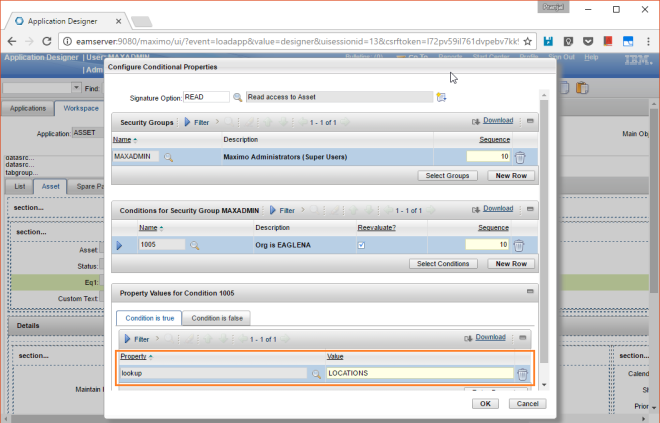
- Added the new attribute to the dialog in the app designer


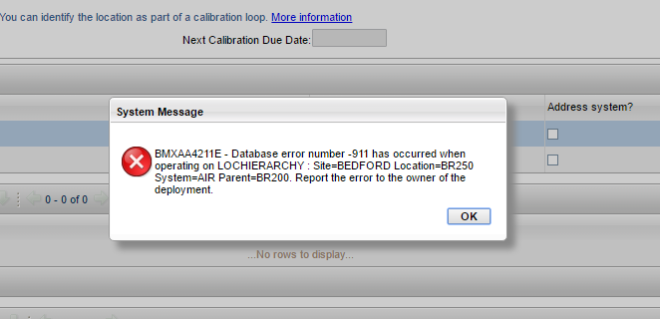
But I noticed that still the data was not being fetched and shown in the field. So I did some more research and found that there is an OBP (Object Blue Print) field in the MAXINTERACTION table that keeps the xml schema of the request and response for the interaction. The new field needs to be added to that schema for it to work. So I updated the schema and Voila! it worked!


Please note that this solution is applicable only if the field already exists in the webservice schema and only needs to be displayed in Maximo.
Enjoy!
Until next time!